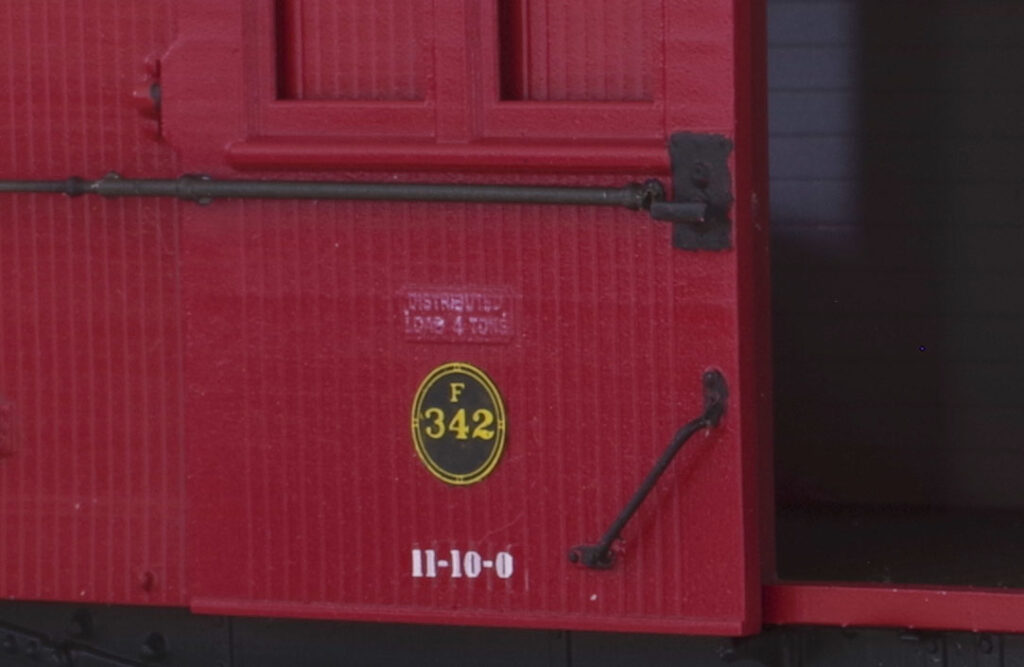
Photoetched number and class plates provide a very accurate representation of the real thing. Painting them to bring out their best is another thing entirely. Locomotive plates are relatively easy to deal with as they can be painted with the base colour and carefully sanded back to reveal the brass numbers. NZR car and van plates were typically black with raised yellow text and detail, so this approach does not work for an etched brass plate. Modellers have cast plates in yellow resin from etched masters and used the sanding method, but that is quite a lot of work if you don’t have the materials to hand.
My method is relatively easy…

An etched 3/16″van numberplate painted as described.
I suggest leaving the numberplates attached to the brass fret until painted as this makes handling easier. Prime and paint with yellow. I strongly suggest an enamel or lacquer paint for this as it needs to be hard when dry. I used PA10 etch primer followed by Humbrol yellow (both airbrushed) in the example here left to dry on a warm concrete step in the summer sun for a few hours. Having the paint properly dry is important. I was unable to damage it with a fingernail (tested on the fret rather than the plate).
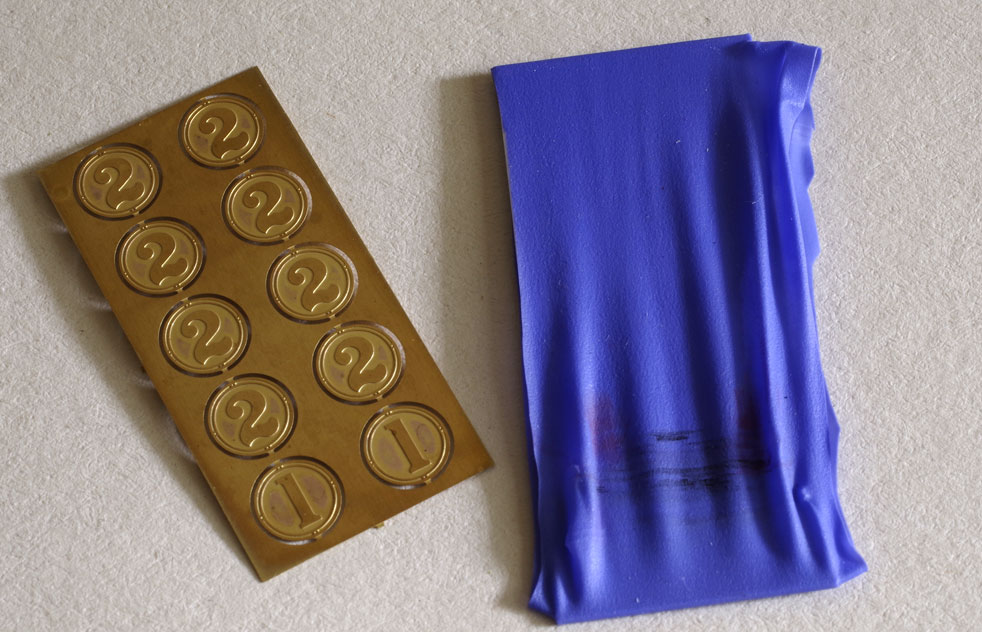
The next step is to apply black paint and then squeegie it off to leave the proud detail free of black paint. Make the squeegie by cutting the finger from a nitrile rubber glove to provide a wide band, and stretching this around a suitable piece of plasticard/styrene sheet.
For the black paint, I used Vallejo Air black with a bit of retarder in it. The technique works best with thin paint that doesn’t dry too quickly. If the black isn’t dense enough you can always repeat the step.
Generously apply the black by brush (you want to do the edges too), leave to dry for a bit (30 seconds or so, but will depend on your thinning regime), and then squeegie off. I use the squeegie at a fairly shallow angle and it may take a few passes in different directions to evenly reveal the lettering. You can get a clean rubber edge by rotating the rubber sleeve on the plastic.
The result is very sharp, and it doesn’t take any great skill to do it.

My squeegie, with some 1:64 etched plates for scale. Note the dirty bands where I have used it and then rotated the rubber to provide a fresh clean edge.
Next step are some decals to represent the allocation of the vehicle…
