
One of the really attractive features of the old NZR cars was their open verandahs. Great to hang off for railfans wanting a full sensory experience, not so easy to model the railings and gates convincingly…
The venerable NZFinescale car gate etch (code number ES001) was the first etched part I did way back in 1996. This was before I had any drawing skills and the etch was done to my sketches by Bill Bedford in the UK. It has always been possible to build nice looking gates with it, but not especially easy due to the need to form the parts. An etched jig and bending guides are included, but even so it was a challenge.
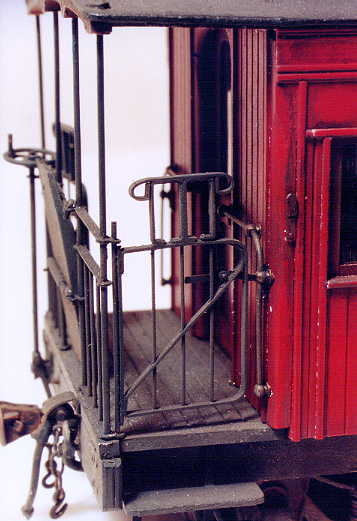
Gates from the etch built back in the ’90s on my BP1703 44′ car.
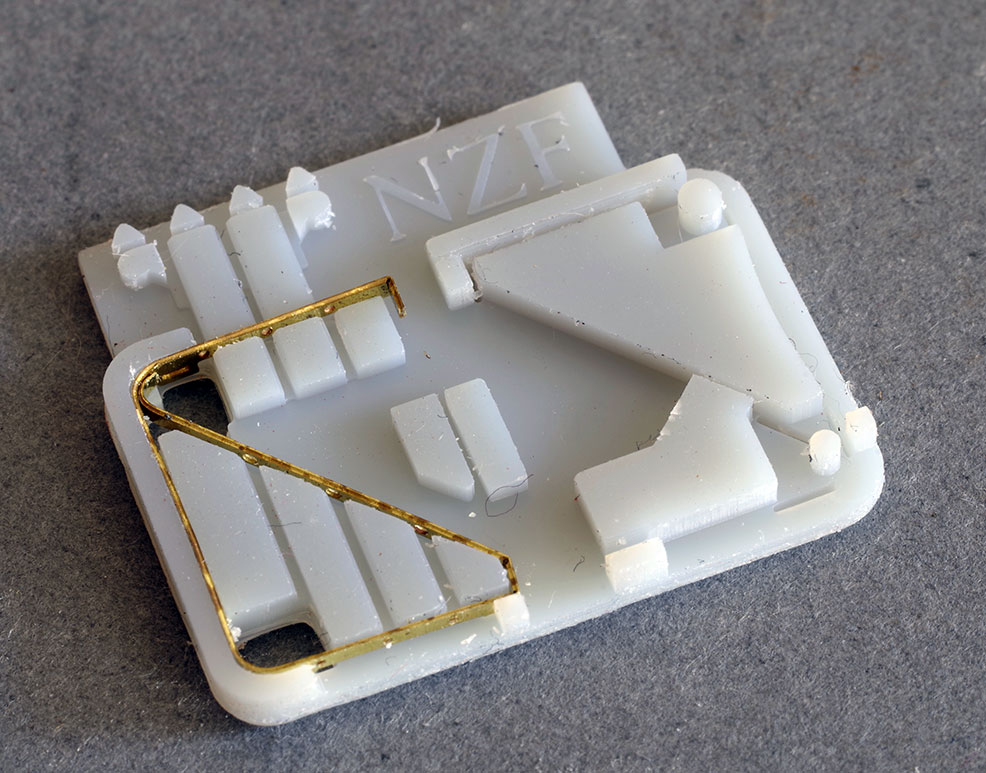
With the new car kits on the way I’ve been looking for a way to get really nice gates with a much lower skill threshold and here it is. The etch is the same, but I’ve designed a MUCH more comprehensive and user-friendly jig. 3D printed in a heat-resistent plastic, it allows the parts to be formed and securely held while soldering up. The results are square, consistent and achieved a lot quicker. You won’t need anywhere near as large a swear jar!!
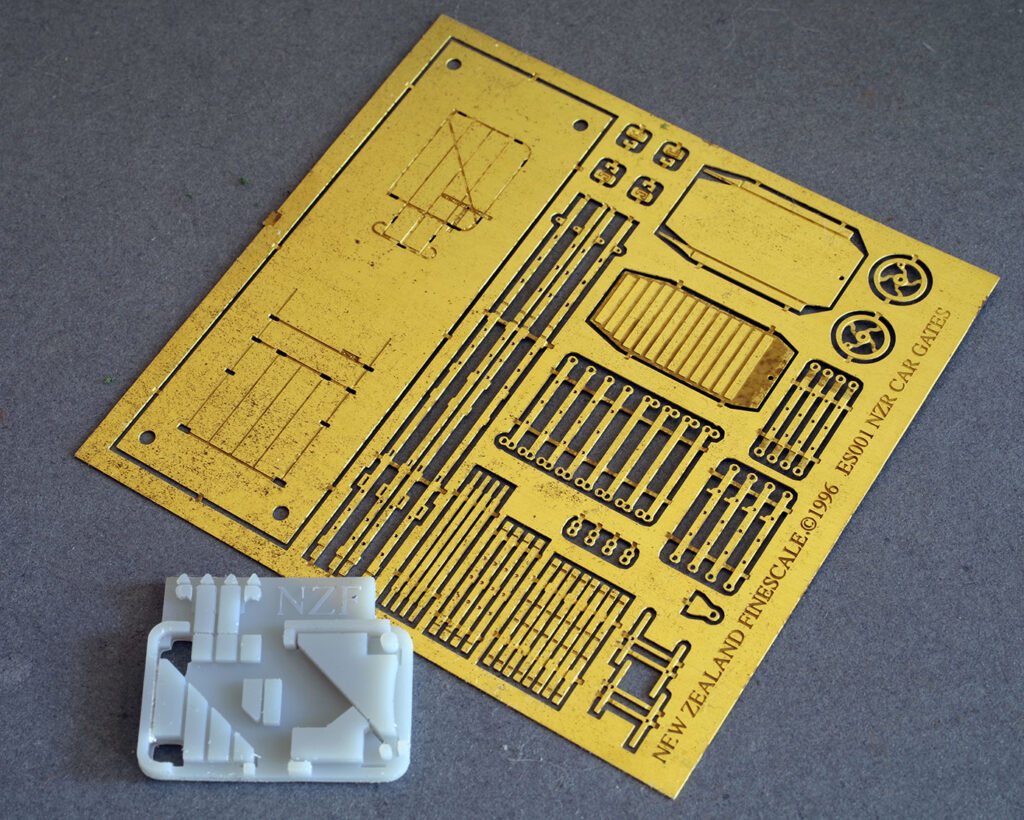
Here’s the etch with the new 3D printed jig. The old jig supplied as part of the etch is clear.
I will shortly revise the product listing for the gate etch to include the printed jig. Anyone with unbuilt gates who would like jigs is welcome to get in touch.
An illustrated guide to building a car gate
Cut the main frame, extension top and hinge bar parts from the fret and open holes 0.33mm. Note that the holes in the diagonal need to be oval, so clean them out with the drill/broach at an angle.
Make the first fold in the main frame with the half etched lines to the inside. Place in the folding jig as below.
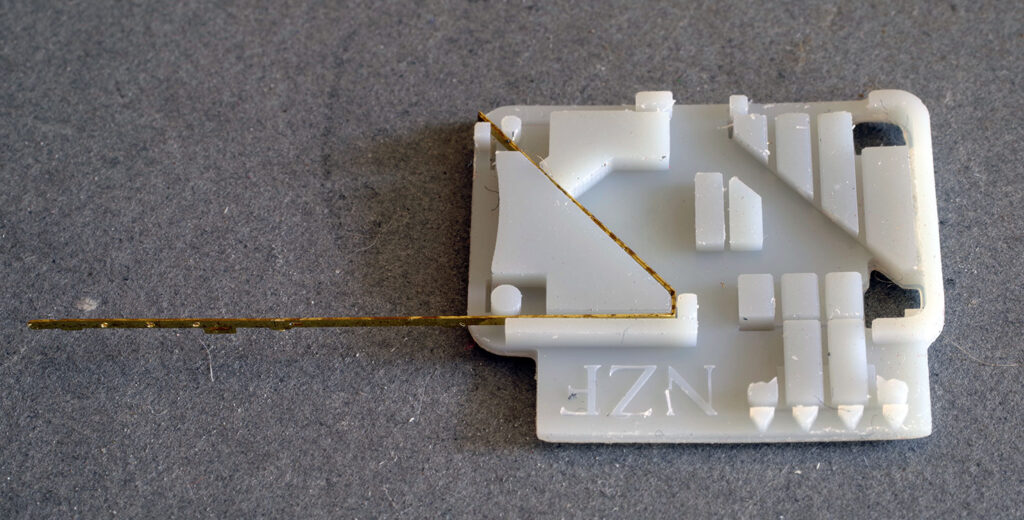
Note that these folds are defined by the half etch guides and positively locate in the jig.
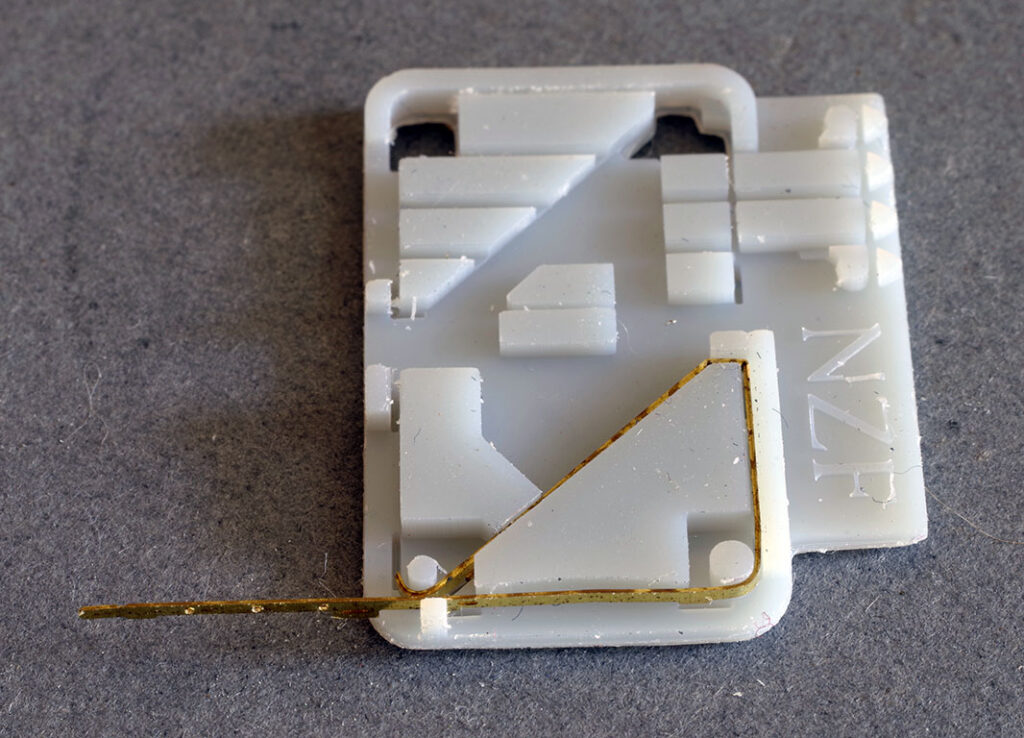
With the part in the jig, form curve at the top of the diagonal. Carefully form the curve around the jig spigot with tweezers.
 Diagonal top curve formed.
Gently form the gate to shape around the various guides. This can be a bit of a fiddle as there are some protrusions in the etch. These do sit into depressions in the jig, but a little care and patience are needed. Note that at this stage the general form and position of the curves is enough – we will tweak later.
First curve done.

And the second curve.
The shaped frame is the carefully removed from the shaping jig and placed into the finishing jig as shown below. At this point the curves can be tweaked by squeezing the frame into the curves of the jig.
The finishing jig with gate frame in position.
Next the extension top, vertical wires (0.3mm) and hinge bar are added. It pays to sharpen the wires to ease their passage. Once the parts are in position, form the curled ends to the extension top. Note that for pragmatic reasons the wires run right through. In fact they should stop at the gate top with the extensions added from strap. The etch provides parts to do this (and I’ve used them in the pic at the head of this missive), but this jig does not explicitly allow that.
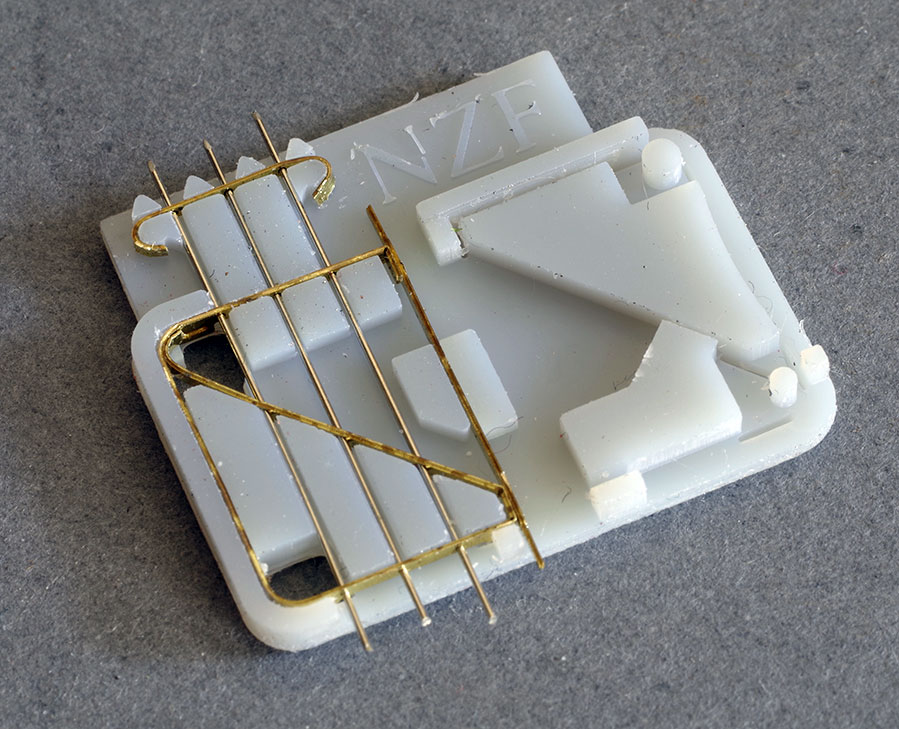
All parts installed ready to solder up. Parts are held quite firmly so there is no need for additional clamping other than some finger pressure.
Add some Carr’s 188 solder paint sparingly to all joints and touch with a hot iron.
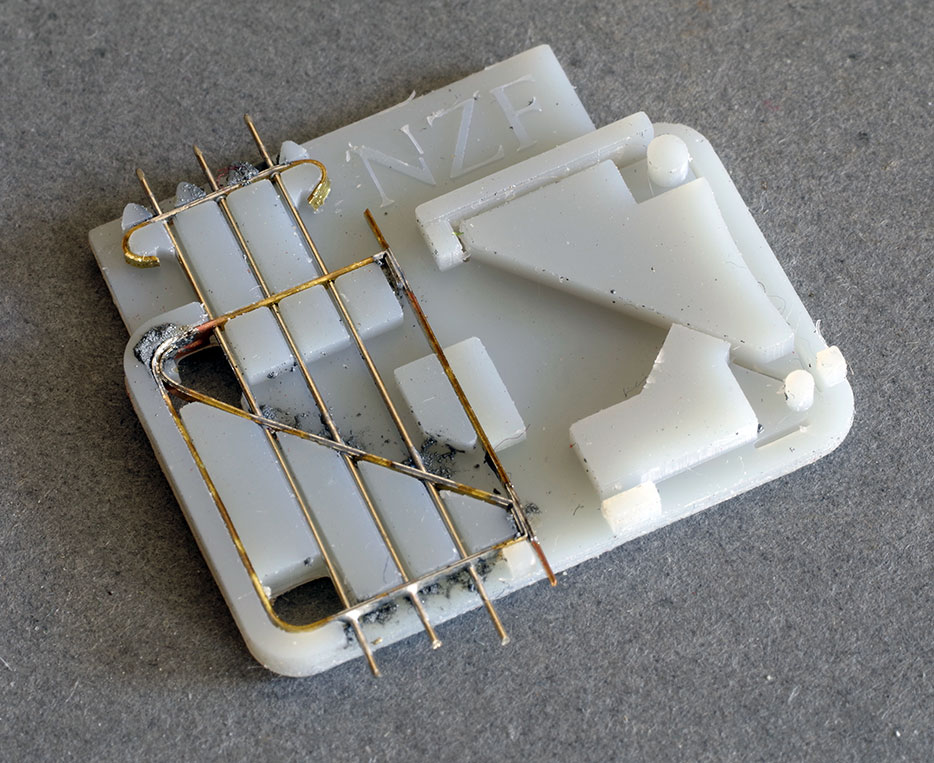 Parts soldered up in place.
Remove the gate and solder at gate top (inaccessible while in the jig). Trim wires, and then wash both gate and jig.
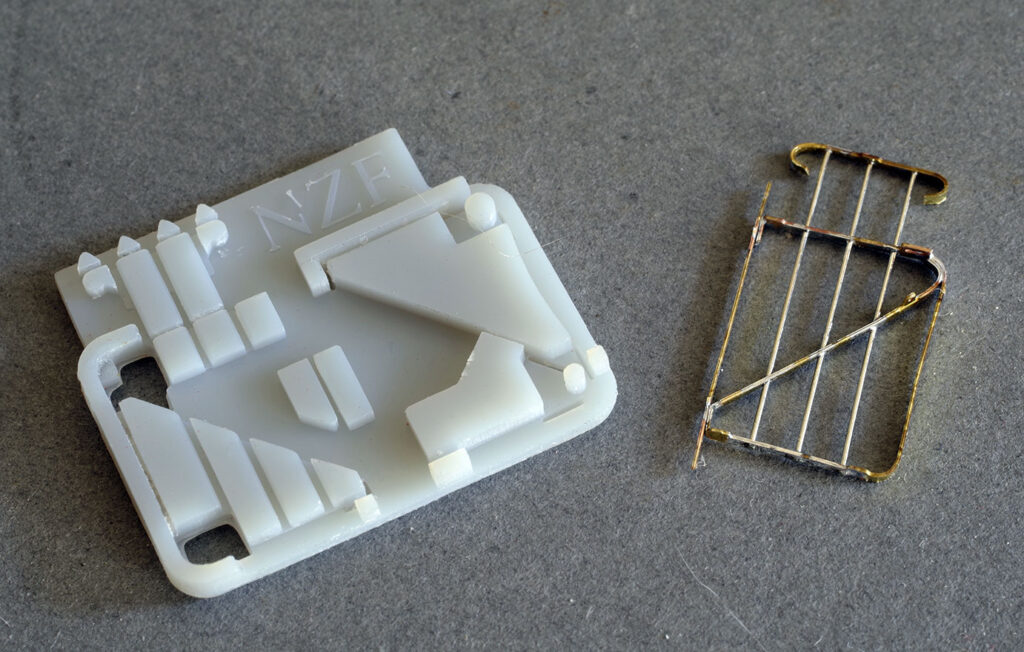
Finished basic gate with the jig cleaned ready for the next one.
The time stamp on the pics shows that from first to last no more than 30 minutes elapsed during the build including wash up, even with mucking around changing rooms to take the pictures, so it is practical to build a gate to this stage in 15 minutes. In perfecting the jigs I’ve built a few gates over the last few days and it’s been pretty stress free (other than the frustration of optimising the jig design). At this point the latch is still to be added and final smoothing/clean up is also required. Later eds of the blog should include these steps.